A Step-by-Step Installation Guide for Globe Valves in Various Piping Systems
Introduction:
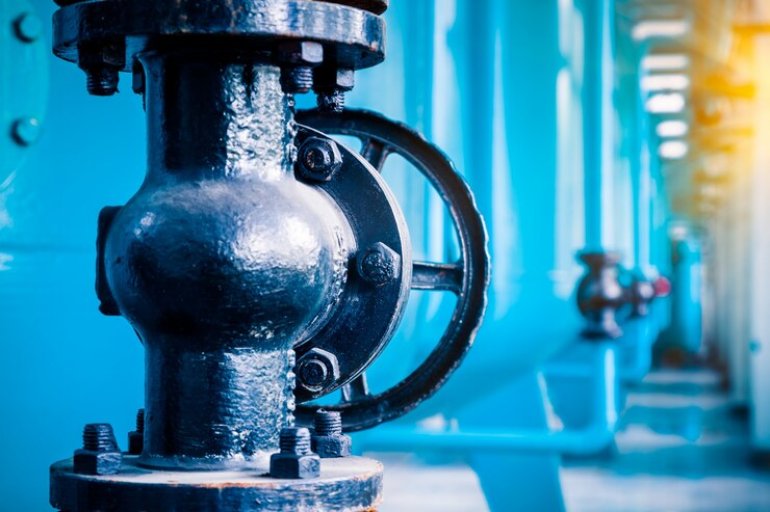
Globe valves are crucial components in piping systems, providing precise
control over fluid flow. Whether you're a seasoned professional or a DIY
enthusiast, a step-by-step installation guide is invaluable for ensuring the
seamless integration of globe valves into different piping systems. In this
comprehensive blog, we will walk you through the installation process,
covering key considerations and providing practical insights for success.
Step 1: Gather Necessary Tools and Materials
Before diving into the installation, it's essential to have all the required
tools and materials at hand. Typical tools include pipe wrenches, a pipe
cutter, a level, and Teflon tape. The materials needed will depend on the
specific piping system and valve type, so refer to the manufacturer's
guidelines for a comprehensive list.
Step 2: Safety First
Prioritize safety throughout the installation process. Wear appropriate
personal protective equipment (PPE) such as gloves and safety glasses.
Ensure that the work area is well-ventilated, and if necessary, use a pipe
thread sealant in a well-ventilated space. Familiarize yourself with the
safety guidelines provided by both the valve manufacturer and relevant
industry standards.
Step 3: Identify Valve Placement
Carefully select the location for installing the globe valve. Consider
factors such as accessibility, ease of operation, and compliance with
industry regulations. Ensure that the valve is oriented correctly based on
the flow direction indicated by the arrow on the valve body.
Step 4: Prepare the Piping System
Before installing the globe valve, prepare the piping system by cleaning and
deburring the pipe ends. Use a pipe cutter to achieve clean, square cuts for
optimal sealing. Remove any dirt, debris, or corrosion from the pipe threads
to ensure a secure connection.
Step 5: Apply Thread Sealant
To prevent leaks and ensure a reliable seal, apply an appropriate thread
sealant to the male threads of the valve. Teflon tape is a commonly used
sealant that helps create a tight connection. Wrap the tape around the
threads in the direction of the threads to ensure proper sealing.
Step 6: Connect the Valve
Carefully thread the globe valve onto the prepared piping system, ensuring a
snug fit. Use pipe wrenches to tighten the connection, being mindful not to
overtighten, which could damage the valve or the piping. Check the valve
alignment to ensure it matches the desired flow direction.
Step 7: Level the Valve
Use a level to ensure that the installed globe valve is perfectly horizontal
or vertical, depending on the application. A level valve contributes to
optimal performance and longevity. Make any necessary adjustments to achieve
the desired orientation.
Step 8: Secure the Valve
Once the globe valve is properly aligned and leveled, secure it in place
using appropriate fasteners. Follow the manufacturer's recommendations for
the specific valve model and ensure that the valve is firmly anchored to
prevent vibrations or movement during operation.
Step 9: Conduct a Leak Test
Before putting the system into operation, perform a thorough leak test to
identify and address any potential issues. Pressurize the system to the
recommended operating pressure and check for leaks around the valve and pipe
connections. If leaks are detected, promptly address and rectify them.
Step 10: Commission the System
After successfully completing the installation and leak testing, commission
the piping system with the newly installed globe valve. Gradually introduce
the fluid into the system and monitor the valve's performance. Verify that
the valve operates smoothly and effectively controls the flow as intended.
Conclusion:
Installing globe valves in different piping systems requires careful
planning and execution. By following this step-by-step guide, you can ensure
a successful installation process that promotes optimal performance and
longevity. Remember to consult the manufacturer's guidelines and adhere to
industry standards throughout the installation. Whether you're a
professional plumber or a DIY enthusiast, mastering the art of globe valve
installation is a valuable skill that contributes to the reliability and
efficiency of fluid control systems.
For top-notch globe valves that meet rigorous industry standards, consider
exploring the offerings of Oswal Industries Limited. As reputable globe valve manufacturers and suppliers, they bring a wealth of expertise and a
commitment to quality to the table. With Oswal Industries Limited, you can
trust that your globe valves are crafted with precision and reliability,
ensuring seamless integration into your piping systems.
Whether you're a seasoned professional or a DIY enthusiast, partnering with
a trusted manufacturer like Oswal Industries Limited adds an extra layer of
assurance to your installation endeavors. Embrace the world of fluid control
with confidence, knowing that you have reliable globe valves from a
reputable source, ready to meet the demands of your diverse applications.